
The hierarchy of laptop pointing devices puts external mice above touchpads but perhaps a joystick belongs on a tier even above that. I often find myself in situations where I have just enough space for a laptop but not enough for a mouse, so I decided to make myself a Bluetooth joystick mouse.
Part Selection
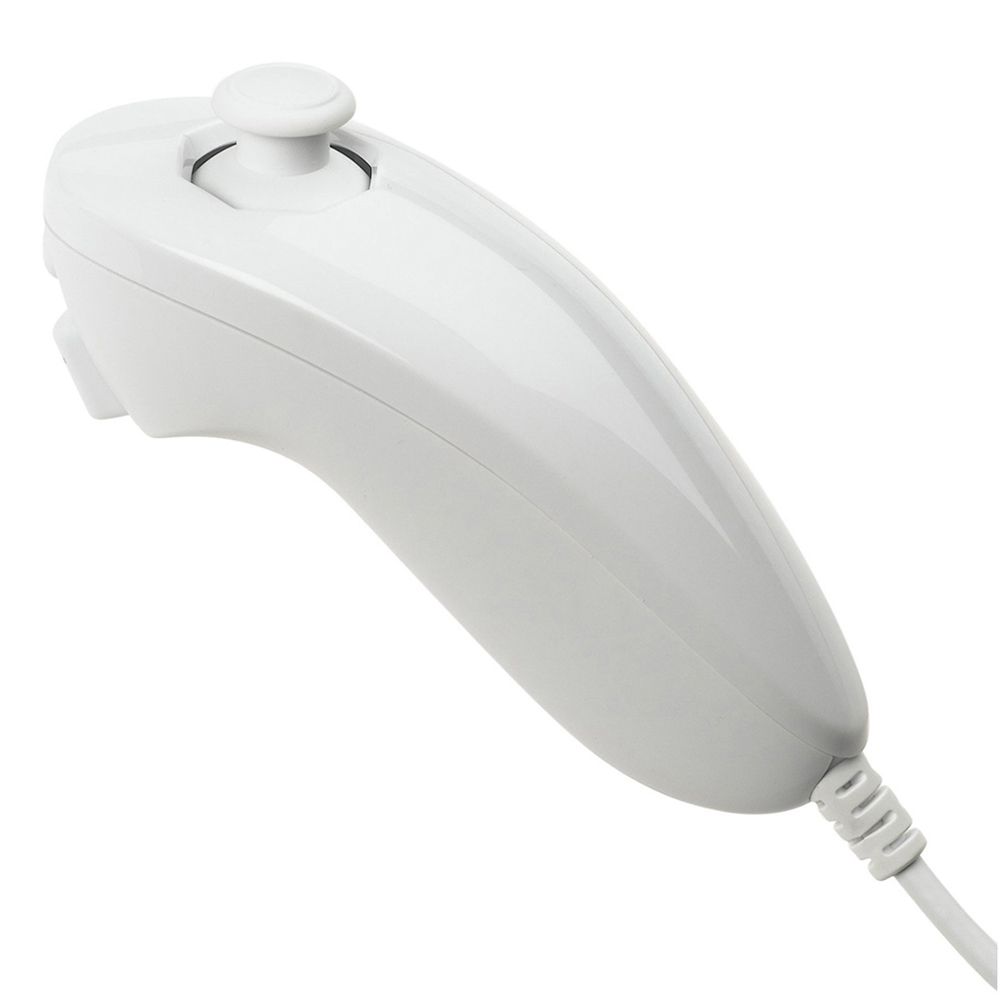
The Wii Nunchuk was the perfect base which I could use for the project. Genuine Nintendo Nunchuk’s contain an analog joystick, accelerometer and 2 buttons. Even more conveniently, it uses I2C communication with the Wiimote which can very easily be tapped into. While it was a very tight fit, the inside of the Nunchuk has just enough space for a battery and microcontroller. Also, the Nunchuk has a really nice form factor which drew me to it in the first place. Furthermore, I had a Nunchuk laying around that had a fraying wire which let me take it apart without feeling like I’m destroying a piece of history.
The ESP32 is an Arduino-compatible microcontroller with I2C and Bluetooth HID support. At the time of the project, I have only ever used development board modules; these contain not only the ESP32 itself, but all circuitry to handle programming and power through USB. This was much too large to fit inside the Nunchuk so I initially experimented with reflashing a much smaller bluetooth adapter to enable HID as explained in a now-removed Evan Kale video. This was unsuccessful as the adapter I bought had a newer chip that was incompatible and older versions were no longer sold. While there are plenty of smaller modules for ESP32, to meet all my I/O and size requirements, I’d have to design my own.
PCB Design
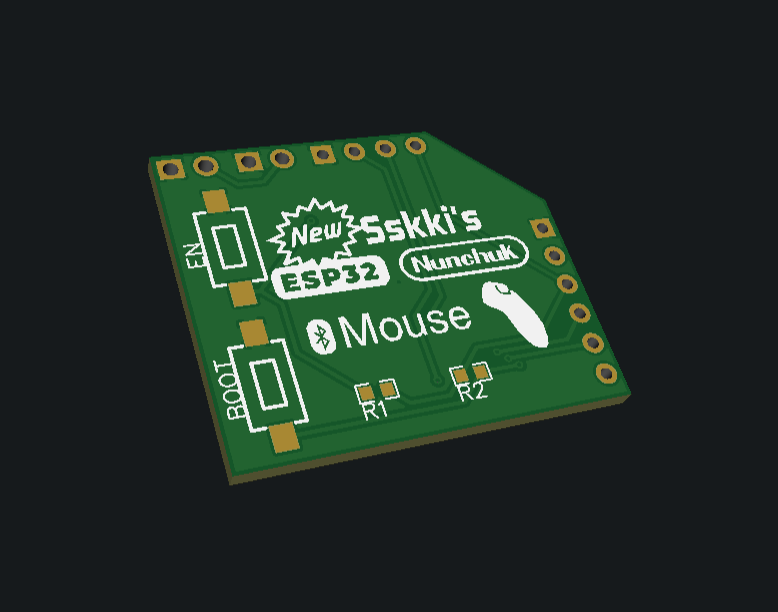
This project led me to learning how to read a datasheet as well as design PCBs (I recently learned it wasn’t a colloquial term when my mechanical engineer friend had no clue what it meant). While I did experiment with different EDAs such as KiCad, I settled on using EasyEDA as it has JLCPCB integration which gave me access to their parts library as well as automatically handle the upload and ordering process. GreatScott!’s video was my inspiration to use it but Electronoobs’ video is a better learning resource. I also had a lot of fun designing the silkscreening.
While I did have to order 2 revisions of the PCB (which is why it’s “New”) because of a mistake, the whole process was quite rewarding. It’s quite amazing to see a tiny circuit board I designed on a computer being manifested, especially with the SMD components assembled for me. This was my first time working with such tiny buttons and resistors and they’re quite adorable. The rest of the electronics was quite straight forward:
- WEMOS Battery Shield for power and battery management
- 3.7V 250mah 502030 Li-Po battery
- 3.3V Buck Step Down Converter to match the ESP32
- Small slide switch for on/off
Code & Assembly
Thanks to W-vK’s ESP32-BLE-Mouse Library and Robert Eisele’s Nunchuk Library, the Arduino code was also straight forward to write. Due to imperfections in the Nunchuk joystick, I took measurements and hardcoded in deadzones and limits. I experimented with a few control schemes and settled on using the C button as a “change mode” that cycles from mode 0 to 2. The accelerometer is not comfortable to use as a mouse so was not implemented.
| Mode | Z Button | Joystick |
|---|---|---|
| 0 | Left Click | Move cursor |
| 1 | Right Click | If Z is not pressed, scroll horizontally and vertically else, move cursor |
| 2 | Middle Click | Move cursor |
For the final assembly, the original cable of the Nunchuk was removed, some of the ribbing was removed and a slot was cut into the side for the power switch. White epoxy resin was used to fix a magnetic usb connector where the cable used to be. All the electronics were stuffed inside and the Nunchuk was screwed back together.
Is this Loss?
Unfortunately, I lost the actual device before taking any photos to document my build. A reminder to make sure constantly take photos when making things. In the digital age, it costs almost nothing to take photos; you can always delete them later.
Code and PCB available on Github here.
Leave a Reply