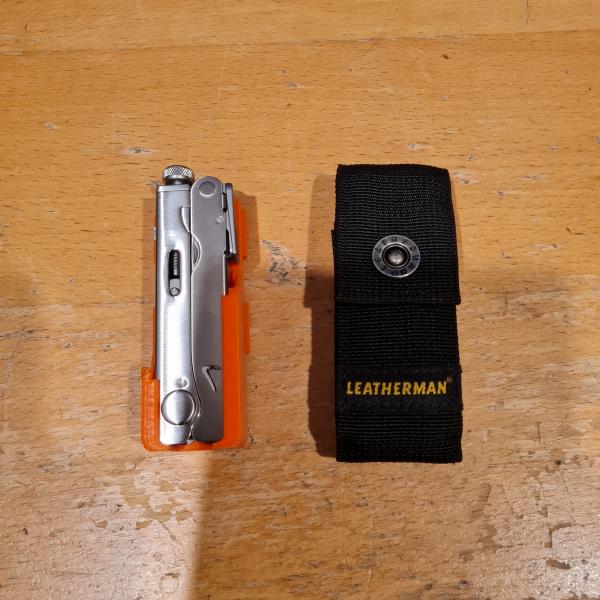
I made a belt holster for my EDC multitool.
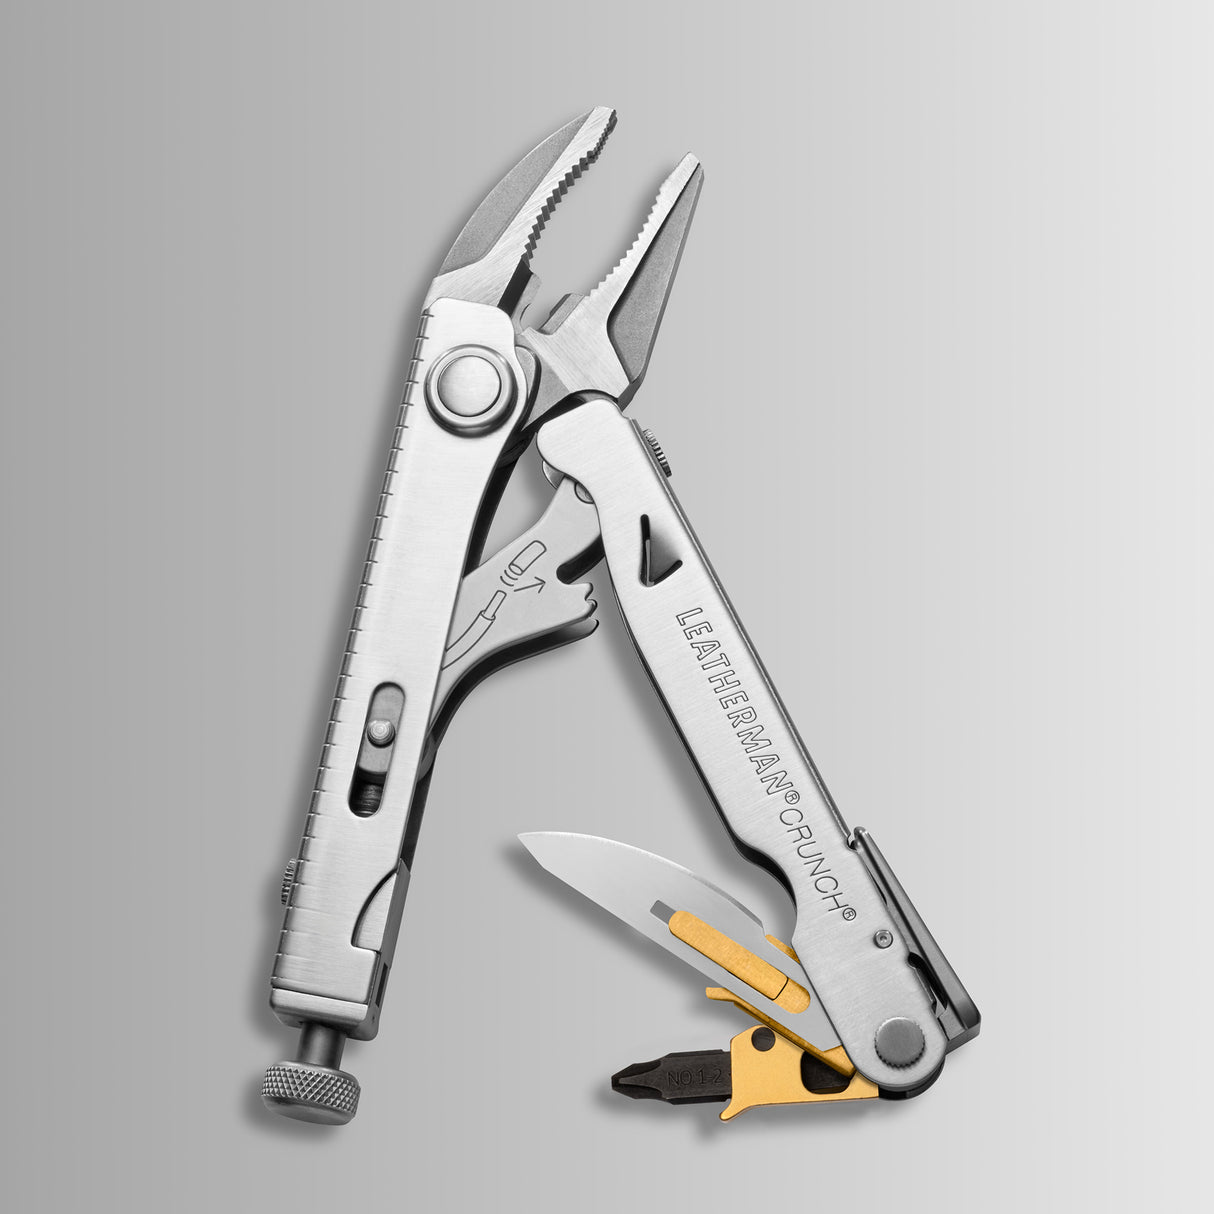
The Leatherman Crunch
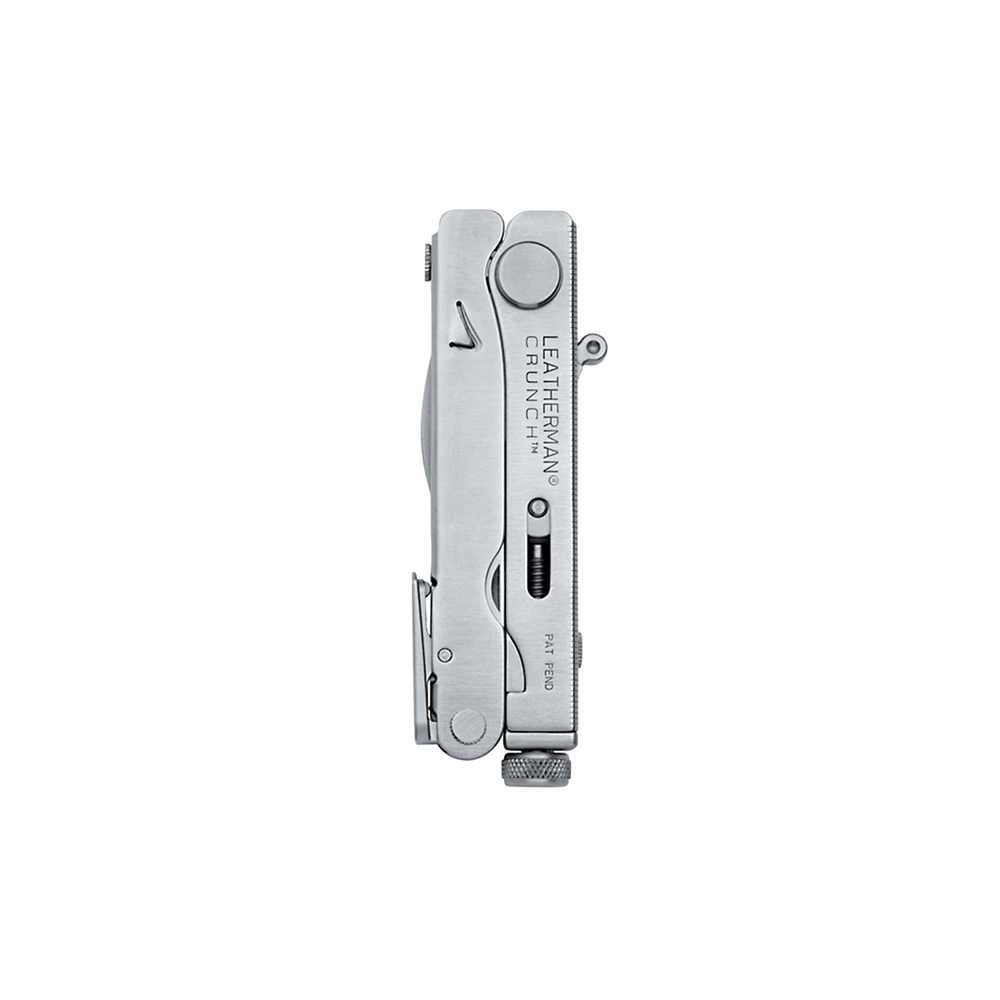
The Leatherman Crunch is my dream multitool.

It’s the last tool designed by founder Tim Leatherman and what a banger it is. A folding pair of vise grips? As someone who often finds themselves tearing apart plastics and thin sheet metal, I need that ability to progressively chomp down on parts and wrench them apart. The Crunch is an absolute beaut piece of engineering: a competent pair of locking pliers with an adequate selection of tools that folds down into the most compact package among its competitors because its competitors can’t even fold at all. They’re either no more than a regular pair vice grips with a parasitic knife in one handle (Irwin so embarrassed about it, it’s not even on their website anymore) or they don’t fold at all (not listed on the official Kershaw website either).
At about $200AUD MSRP it’s a great deal, but since it got discontinued – reran – then discontinued again, the supply has trickled down into the hands of collectors who trade them at 3 times the price; I assume the people that actually use the tool would never part with such a uniquely useful tool. This kept the Crunch well out of my budget for a long time, not to mention that most second hand sellers are in the US, which’d double their price in shipping fees.
But on one fateful day, I was idly browsing Ebay and found a deal of a lifetime. A Crunch? At MSRP or best offer? In Australia? In NEW CONDITION? From a seller that just signed up and is also selling a bunch of other knives in new condition as well? It smelt like an obvious scam but I couldn’t pass up on the opportunity (besides, eBay and Paypal have good buyer protection). Turns out the seller was a collector’s wife who was liquidating his knife collection; I assume she got the prices from the official Leatherman website.
Needless to say, I was over the moon when the Crunch finally arrived, in mint condition no less. I dropped the tool onto concrete a week later and it’s been dinged up ever since. But tools are meant to do work, not stay pretty.
Sheath Design Inspiration

I’ve never had a Leatherman before and was quite pleasantly surprised by the quality of the included nylon sheath. However, just as I’ve been dreaming about getting a Crunch, I’ve also been dreaming about getting a ZapWizard-style sheath for it (at time of writing, he hasn’t designed one yet and as the Crunch is a niche discontinued product, he probably never will). I think the beauty of ZapWizard‘s designs comes from their pragmatism and minimalism; it’s as if the bare tool just sticks onto a belt.
Just in case someone had already designed something similar, I did some preliminary research and only found 2 Leatherman Crunch sheaths on Etsy at time of writing. One is magnetic and looks insecure while the other one appears to have unnecessary bulk.
Needless to say, it seems I had to design my own to meet my needs so I did.
My Design
Most Leatherman multitools that ZapWizard designs for have spring-loaded metal tabs (as part of the tool) which he uses as locking features in his sheaths. In a similar way, I designed in some nubs which engage with the Crunch’s plier head which sticks out the side when it’s folded.
While I didn’t cut the slits out, turning it into a compliant mechanism, the tool snaps in satisfyingly and holds the tool reliably. This might eventually wear out the sheath long-term but I want to field test my design so I can discover all the other problems that might arise first. It’s a good thing I did, because I immediately found some issues. I want to eventually finalize a design worth committing to nylon sintering like ZapWizard‘s.

For the Mk0 (left), I just took measurements of the tool and designed channels that run to the end sheath for the Crunch’s protrusions to slide along. However, after using the sheath on an actual belt, I found myself trying to slide the tool in at a diagonal at the center of the long side rather than sliding it in parallelily (adverb of parallel) from the short side.
The big circular plier hinge of the Crunch was designed to slide along the channel that opens out the short end/top of the Mk0. For Mk1, I opened that channel out the long side and replaced the top of it with a gradual slope. Doing this not only made it possible to slide the tool in diagonally, but it also made alignment much easier for sheathing parallelily as well.
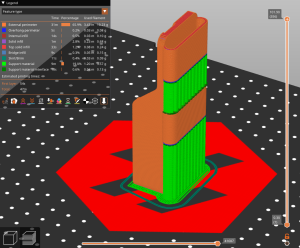
Please ignore the 3D honeycomb and gyroid infills showing through the outer walls of my prints; my printer was tuned poorly (I know I ironically brought attention to it).

To my embarassment (because a good 3D print should not require supports), I designed my sheath to print with supports. To maximize the strength of the belt loops, I was forced to. This won’t be an issue for laser sintering though.
I’m happy with the Mk1 for now but I’ll keep wearing it for a while to see if there’s any other issues I could address. A few things that bother me right now is that: due to the thin edges of the Crunch’s bottom, pushing it out with one finger is pretty uncomfortable, and the tool doesn’t pull out smoothly.
Future Crunch Projects
In terms of other Crunch projects, I want to mod the tools (most of these ideas are from ZapWizard). While I’m incredibly happy with the vice grips (which have seen a lot of use already), the tool selection seems a bit lacking. Currently, the only tool mod that exists for the Crunch is a hammer which just feels wrong; surely whacking the handle sideways into the screw can’t be good for your tool.

The serrated blade is fine, but I do most of my cutting with straight blades. Maybe I can design an exacto blade or scalpel holder.
I’m getting a lot more use out of the 3D Phillips driver than I’d like to (I can’t stand Phillips screws), but I think I’d get much more use out of a 4mm precision bit holder.
There’s 2 flat heads, which seems redundant. The smaller one is part of a bottle opener, and it’s the best bottle opener I’ve ever used; it barely dents caps as you pop them, despite being so thin and compact. I’ll keep that one but remove the big one to make space for other tools.
I have no use for a file so maybe I could use a T-shank holder and attach a saw instead.
The lanyard loop is just a hair thicker than a lockpick and I’d love to add a Sparrows Monkey’s Paw to my Crunch.
(Jun 2026 update: Leatherman Garage has come out with the Captains Crunch which has an official T-shank holder/scalpel holder)
Update 0: Reprint
My original PLA print started bending and finally snapped after a few weeks so I reprinted it in PETG. It locks in just as well, possibly better, and it also is showing no sign of fatigue. I’ll update this post if it breaks again.

Update 1: Definition of Insanity
It broke 2 more times since. Both in PETG.
Update 2: Redux
I’m currently in talks with ZapWizard about a revised design. More information to follow…
Model available on Printables here.
Leave a Reply